WordPress Online Chat Plugin or a Code Snippet? Four Ways to Add Chat, and a Snippet Generator for More Control
WordPress online chat plugin installs are the easy route: upload, activate, done. But a plugin isn’t the only way, and sometimes not the best one. If you want the chat hidden from your own staff, want logged-in customers recognised by name, or want the chat inside your contact page instead of a bubble, a few lines of code give you more control than any settings screen. This guide compares the four ways to add chat to WordPress, helps you pick one, and generates a ready-to-paste snippet for the code route, with the safety steps that stop a typo from taking your site down.
⚡ In short
- Four routes: a chat plugin, a header-and-footer code plugin, a snippet in functions.php or Code Snippets, or a tag manager.
- Pick the plugin for simplicity, a snippet for control, a tag manager if marketing already runs one.
- A snippet can hide chat from staff, pass logged-in customers’ details and switch to inline mode on one page.
- Never edit a parent theme’s functions.php, and keep a way back in (backup or file access) before pasting code.
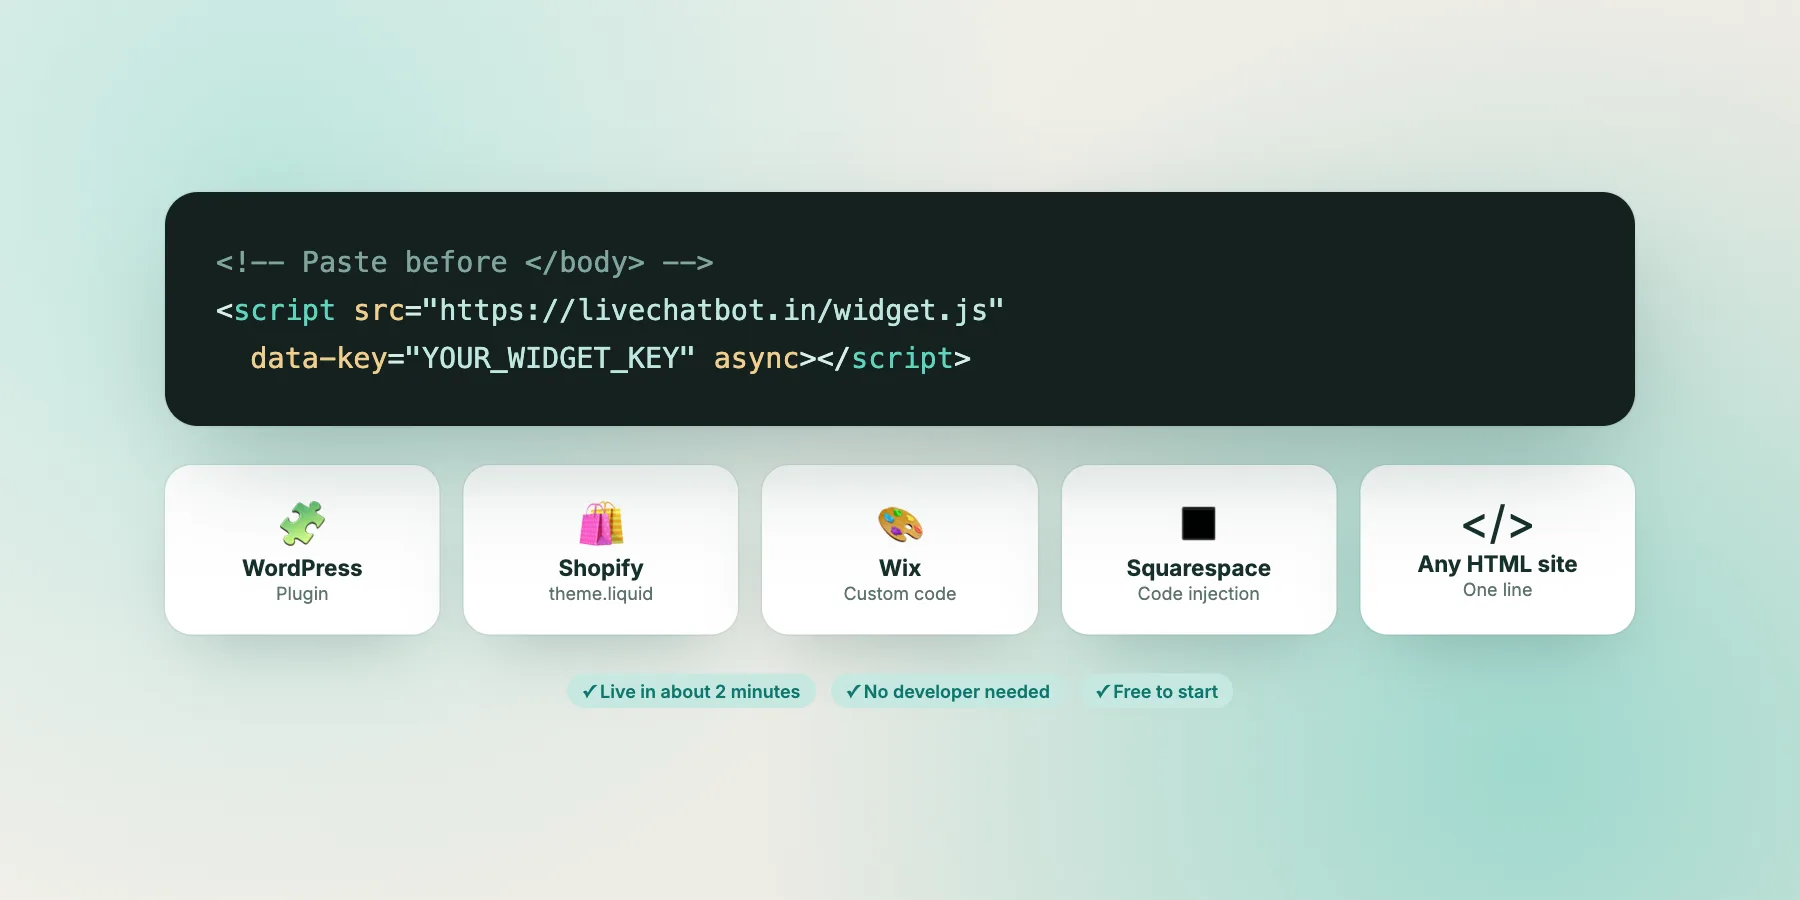
Four routes
The ways to add online chat to WordPress
Whatever route you choose, the end result is the same: the chat provider’s script tag appears near the bottom of your pages. The difference is who manages it, how much control you get and how easily it survives changes to your site.
1. A chat plugin
The provider’s own plugin adds the script for you, often with a switch to turn the chat on or off and a summary of chats inside WordPress. A WordPress online chat plugin is the simplest route by far, and the right choice for most owners.
2. A header-and-footer code plugin
General-purpose plugins let you paste code into the site’s footer from a settings screen. Good when the provider has no plugin, or when you prefer one plugin for all your scripts.
3. A PHP snippet
A few lines of PHP, added with the Code Snippets plugin or a child theme’s functions.php file. More control: you can decide per page, per user type, and pass details about logged-in customers.
4. A tag manager
If your marketing team already runs Google Tag Manager, the chat script can be added as a tag there and fired on chosen pages. Useful when someone else manages tracking, but one more system to maintain.
All four can coexist with your theme and plugins; just make sure only one of them adds the chat, or the script appears twice.
Compared
Which route suits which site
General guidance; your theme, host and team will tip the balance.
| Chat plugin | Header/footer plugin | PHP snippet | Tag manager | |
|---|---|---|---|---|
| Needs code skills | No | Copy and paste | A little | Some |
| Survives a theme change | Yes | Yes | Code Snippets: yes; child theme: no | Yes |
| Hide from staff | Usually no | No | Yes | With extra setup |
| Recognise logged-in customers | Depends on plugin | No | Yes | With extra setup |
| Inline chat on one page | Depends on plugin | Awkward | Yes | Possible |
| Best for | Most owners | Sites without a provider plugin | Shops and membership sites | Sites already using a tag manager |
Quick decision
Which one should you use?
Answer three questions and follow the arrows.
Free tool
Generate a WordPress snippet for your chat
Choose your options and copy the result into the Code Snippets plugin or a child theme. The example uses LiveChatBot’s install code and JavaScript API.
Runs only in your browser. Paste the result into the Code Snippets plugin or a child theme’s functions.php, not both, and don’t also run the chat plugin, or the script loads twice.
Paste it safely
How to add a snippet without breaking the site
A typo in PHP can take a WordPress site offline with a "critical error" message. That sounds scary, but with three precautions it's a non-event.
Use Code Snippets, not the theme editor
The free Code Snippets plugin stores snippets in the database, lets you switch each one on and off, and survives theme changes. It also checks for some errors before activating a snippet. For most owners it's safer than editing files.
If you use functions.php, use a child theme
Code added to a parent theme's functions.php is wiped out by the next theme update. A child theme is a small add-on theme that keeps your changes. Never edit the parent theme directly.
Keep a way back in
Before pasting, make sure you have a recent backup and know how to reach your files through your host's file manager or SFTP. If the site shows an error after saving, you can remove the snippet from there, or turn on recovery mode from the link WordPress emails to the admin address.
Remove the other method first
If the chat plugin or a header-and-footer plugin is already adding the chat, switch it off before activating your snippet. With LiveChatBot, if the script appears twice, only the first copy runs, so a duplicate can quietly override the options you set in your snippet.
Test in a private window
Logged-in admins may be excluded by your own snippet, so check as a visitor, and then log in as a test customer to confirm their name arrives in the chat.
Recognising customers
Passing logged-in customers' details to the chat
On WooCommerce stores, membership sites and course platforms, many visitors are logged in. Your website already knows their name and email; making them type it again in the chat is a small but real annoyance.
LiveChatBot's JavaScript API includes a setVisitor call that takes a name, email and phone. The generator's snippet runs it only for logged-in users, with the details WordPress already holds, so your team sees who they're talking to from the first message. If no email or phone is passed, the call does nothing.
Things to decide first
- Privacy. You're sharing customer details with your chat provider. Say so in your privacy policy, and pass only what your team needs: usually name and email, sometimes phone. - Staff accounts. Exclude editors and admins, or your team's own test chats will show your colleagues' names as customers. - Shared devices. In shops or offices where several people use one logged-in computer, details may belong to someone else. That's rare for most sites, but worth knowing.
Single-page parts of your site
If part of your site changes pages without a full reload, such as a headless storefront or a React-based account area, call LiveChatBot.pageView() after each route change so visitor tracking shows the right page. Classic WordPress pages reload normally and don't need this.
Per-page control
Settings first, code second
Before writing code to hide the chat on certain pages, check what your chat's own settings can do. In LiveChatBot, the "where it shows" settings can hide the chat on chosen pages, devices and countries without touching WordPress; our guide to showing live chat on specific pages explains how.
Settings are easier for non-technical teammates to change later. Use code when the rule depends on something only WordPress knows, such as whether the visitor is logged in, their user role, or a WooCommerce page type.
Pages where many shops hide chat
- Checkout: some owners prefer no distractions on the payment step; others want help available exactly there. Test both if you can. - Order received: the order is done; the chat can wait for the next visit. - Account and download pages: often fine to keep, since questions arise there.
Pages where inline chat works well
A contact page or a high-value service page can show the chat as part of the page rather than a bubble, inviting a conversation without a click. The generator's inline option does this on one page using the shortcode it creates.
For shop-specific advice, see WooCommerce live chat.
Switching routes
Moving from the plugin to a snippet, or back, without a gap
Many sites start with a WordPress online chat plugin and move to a snippet months later, when a new need appears. The switch takes five minutes if you do it in the right order, and nobody notices.
- Generate and review your snippet with the tool above, and add it to Code Snippets without activating it yet.
- Deactivate the chat plugin.
- Activate the snippet straight away.
- Purge every cache, then check the chat in a private window and as a logged-in test customer.
- Once you're happy, delete the plugin so it can't be reactivated by accident.
Going back is the mirror image: deactivate the snippet, then activate the plugin. In both directions, the key rule is the same: never leave both active, and never leave a gap with neither.
Keep your chat history
Your conversations, contacts and settings live in your LiveChatBot account, not in WordPress, so switching between the plugin and a snippet doesn't touch them. The same website key keeps everything connected.
Write it down
Note which method is live and why, in the same place you keep hosting and domain details. The next person to work on the site, or you in a year, will thank you.
After you paste
Check the snippet did what you wanted
Tick each check. Your ticks stay in this browser tab only.
Plugin is fine too
When the simple route is the right one
For many sites, all this control isn't needed. If you just want the chat on every page, a WordPress online chat plugin from your provider is the quickest route and the easiest to hand over to someone else.
LiveChatBot's plugin is downloaded from your dashboard with your key already filled in. It adds the chat to every page, gives you a show-or-hide switch inside WordPress and a summary of recent chats, and works with WooCommerce. See the WordPress live chat plugin page. If something stops the chat appearing after installation, our conflict finder for WordPress chat plugins helps you track down the cause.
You can always start with the plugin and switch to a snippet later, when you know you need staff hiding, customer recognition or inline chat. Just remember to deactivate the plugin when you do.
The free plan covers two websites with 100 visitors per website each month, with the JavaScript API, inline mode and "where it shows" settings included. Start on livechatbot.in.
Frequently asked questions
Do I need a WordPress online chat plugin to add chat?
No. A plugin is the simplest route, but you can also paste the chat code with a header-and-footer plugin, a PHP snippet or a tag manager.
Where should I paste a PHP snippet?
In the Code Snippets plugin or a child theme's functions.php. Never in a parent theme, which loses changes on update.
Can I hide the chat from my own staff?
Yes, with a snippet that skips the chat for users who can edit posts. The generator above includes this option.
Is it okay to pass logged-in customers' names to the chat?
It's common and helpful, but mention it in your privacy policy and pass only what your team needs.
What if the chat loads twice?
Remove one method. With LiveChatBot only the first copy runs, so a leftover plugin can override your snippet's options.
Keep reading
Related guides
WordPress Chat Plugin Conflicts: Find the Plugin Breaking Your Chat in Five Rounds (Free Conflict Finder)
WordPress Chat Box Plugin: How to Judge One Before You Install It (Free Plugin Health Score)
Websites With Chatbots Everyone Can Use: An Accessibility Check for Your Chat (Free Contrast Checker)
More to read
More guides on this topic
Elementor Chatbot Plugin: There Is No Elementor Widget Here, So Here Are Three Honest Ways to Add Chat (Free Decision Tree)
Add chat to WordPress your way
Plugin for simplicity, snippet for control. Start free on livechatbot.in.