WordPress Chatbot Integration: Four Layers of Connection, From the Plugin to Zapier, and Which Ones You Actually Need
WordPress chatbot integration sounds like one job, but it is really four. The chat has to appear on your pages, know who the visitor is, pass leads to your other tools and react to what happens on the site. Most owners only need the first layer. This guide explains each layer in plain words, shows which ones a small site can skip, and ends with a short decision tree.
⚡ In short
- Layer one puts the chat on your pages. The WordPress plugin or a pasted snippet does it.
- Layers two to four are optional: telling the chat who the visitor is, sending leads onward, and reacting to site events.
- Add a layer only when a real task needs it, such as leads going to a spreadsheet.
- Test each layer on a staging copy or a quiet hour, not during your busiest sale.
Layer one
Layer one: getting the chat onto your pages
Every integration starts here. The chat widget has to load on the right pages, on phones as well as desktops, without slowing the site.
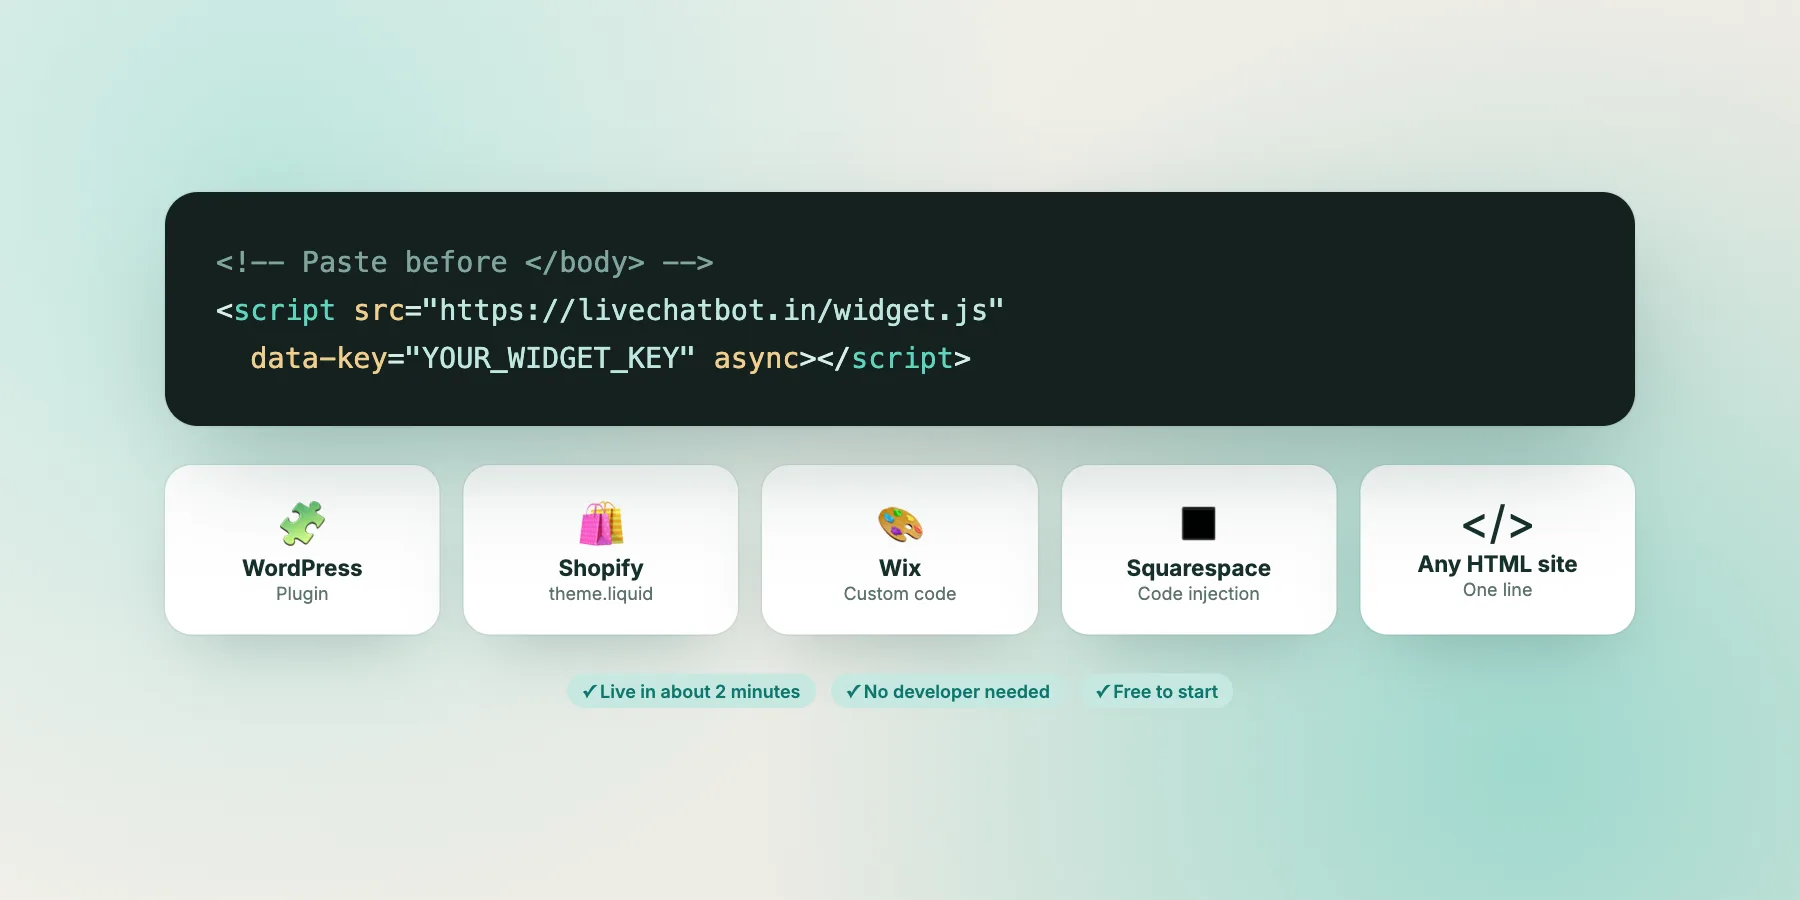
On LiveChatBot you have two ways to do it. The WordPress plugin connects your account to the site, and it also works with WooCommerce. If you prefer not to add a plugin, you can paste the widget code into your theme’s footer area instead.
Either way the result is the same widget. Choose the plugin if you want fewer moving parts to remember, and the snippet if you already run many plugins and want to keep the list short. Our WordPress live chat plugin guide covers the plugin route, and how to add a chatbot to a website covers the snippet.
After this layer, a visitor can type, your team gets an alert, and you have a working chat. For many small sites this is where WordPress chatbot integration ends.
Layer two
Layer two: telling the chat who the visitor is
If customers log in to your site, the chat can greet them by name instead of asking again. This is the layer people forget until a customer complains that the bot asked for their email twice.
LiveChatBot’s JavaScript API has a `setVisitor` call for this. A small snippet in your theme can pass the logged-in user’s name and email to the widget. You need a developer, or a code-snippets plugin and a careful copy-paste, because it touches your theme.
Do you need it?
- Membership, course or customer-portal sites: yes, it saves time on every chat.
- Brochure sites and blogs with no logins: no. The widget collects details from the visitor when needed.
Test it with a dummy account first, on a copy of the site if you can, and never pass anything private beyond the name, email and phone the visitor already gave you.
Layer three
Layer three: sending leads and tickets onward
Chats are only useful if what you learn reaches the people who act on it. Here the options are broader.
- Zapier. Connect LiveChatBot to thousands of apps without code. Use it to add a new lead to a Google Sheet or send yourself an email. See how to connect live chat to Zapier.
- Webhooks. LiveChatBot can notify your own server when a ticket is created or solved (`ticket.created` and `ticket.solved`).
- REST API. Your developer can read and update tickets from your own systems.
Be clear about what is not there. LiveChatBot has no one-click native connection to CRMs or helpdesks such as HubSpot, Salesforce or Zoho. If you need those, route through Zapier or a webhook, and test that a lead really arrives. The integrations page lists what exists today.
Layer four
Layer four: reacting to events on your site
The last layer lets the site and chat talk to each other. A button on your pricing page can open the chat. A thank-you page can tell the chat a purchase happened. A custom form can send a message into the conversation.
This is done with the JavaScript API: `open`, `close`, `show`, `hide`, `sendMessage`, `pageView` and an `on` listener for events such as a new lead. A simple example is a menu link that calls `window.LiveChatBot.open()` when clicked, so “Talk to us” opens the chat instead of a contact page.
Inside LiveChatBot you can also use chat flows for proactive messages based on page, country, device or visit count. That needs no code at all, so try flows before reaching for the API.
Try it
Pick your integration layers
Answer the first question and follow the branch that matches your site.
Safe testing
How to test a WordPress chatbot integration without risking sales
Integrations break quietly. A plugin update, a caching setting or a theme change can stop the widget loading, and nobody notices for a week.
- Test on a staging copy if your host offers one. If not, test at your quietest hour.
- Clear your cache plugin after every change, then open the site in a private window on a phone.
- Send a message from the visitor side and confirm your team’s phone alerts you.
- For any Zapier or webhook link, run one real test and check that the lead reached the destination.
- Re-check after every major WordPress or plugin update.
Keep a short note of which layers you turned on. When something breaks, that note tells you where to look first.
Order of work
The order to add layers in
Week one: layer one only
Get the widget live, set opening hours with the away form, and write a few saved replies. Watch real chats for a week before adding anything.
Week two: the layer your chats ask for
Look at what your team does by hand after each chat. Copying emails into a sheet points to layer three. Asking logged-in customers for their name again points to layer two.
Later: layer four, only if it earns its place
Custom buttons and page events are fun, but each one is code you must maintain through every theme update. Add them one at a time.
What is missing
What the integration will not do
It helps to know the limits before you plan around them. “Powered by LiveChatBot” stays on all plans, so you cannot remove the badge. There is no WhatsApp inbox, though a WhatsApp button card can send visitors to your WhatsApp number. There is no iOS team app, but there is an Android one, and an iPhone user can answer from a browser.
If your plan depends on any of these, look elsewhere or use a workaround. Everything else on this page, from the plugin to the API, is available on the free plan for two websites, with 100 free visitors per website each month. See pricing for packs.
Frequently asked questions
What is a WordPress chatbot integration?
It is the set of connections between your WordPress site and a chat tool: showing the widget, identifying visitors, passing leads to other apps and reacting to site events.
Do I need a developer for WordPress chatbot integration?
Not for the basics. The plugin or a pasted snippet gets the chat live. A developer helps for layers two and four, and for webhooks.
Does LiveChatBot work with WooCommerce?
Yes. The WordPress plugin also works with WooCommerce stores.
Can I send chat leads to my CRM?
There is no native CRM connection. You can use Zapier, webhooks or the REST API to pass leads on.
Will the chat slow my WordPress site?
Any added script has a cost. Test your page speed before and after, and use the where-it-shows settings to hide the chat on pages that do not need it.
Keep reading
Related guides
WordPress Support Chatbot: Reply Lines for the Questions Membership, Course and Booking Sites Get Every Week (Free Copy-Ready Replies)
WordPress Sales Chatbot: Match the Chat to Each Kind of Page on Your Site, From Landing Page to Pricing (Free Setup Quiz)
Connect your WordPress site
Free for two websites, with the plugin, the API and Zapier included. Start on livechatbot.in.