WordPress Chatbot Installation: What Can Go Wrong in the First Hour, and the Pre-Flight and Verify Checklist That Prevents It
WordPress chatbot installation takes minutes, but the problems appear after you click activate. A cache keeps showing the old page, a security plugin blocks the script, or the chat loads on desktop and not on phones. This guide covers what to do before, during and after the install, so the widget really appears and your team really gets the alert.
⚡ In short
- Back up first, then install on a quiet hour. Most install problems are fixed by restoring in minutes.
- Choose the plugin if you want fewer things to remember, or the pasted snippet if you want fewer plugins.
- Clear every cache after installing, then test on a real phone in a private window.
- Use the checklist below to prove the chat loads, alerts your team and shows at the right times.
Before you start
Pre-flight: five minutes that make the install safe
Do these before you touch the chat. They turn a risky change into a boring one.
Take a backup
Use your host’s backup button or a backup plugin. If the install goes wrong, you restore and try again. Without a backup, a small mistake becomes a long evening.
Note your caching and security plugins
Cache plugins, speed optimisers and firewall plugins are the usual cause of “I installed it but nothing shows”. Write down which ones you run, so you know where to look.
Create your account first
Sign up at livechatbot.in and add your website. The free plan covers two websites with 100 free visitors per website each month, so you can finish the whole install without paying anything.
Choosing a route
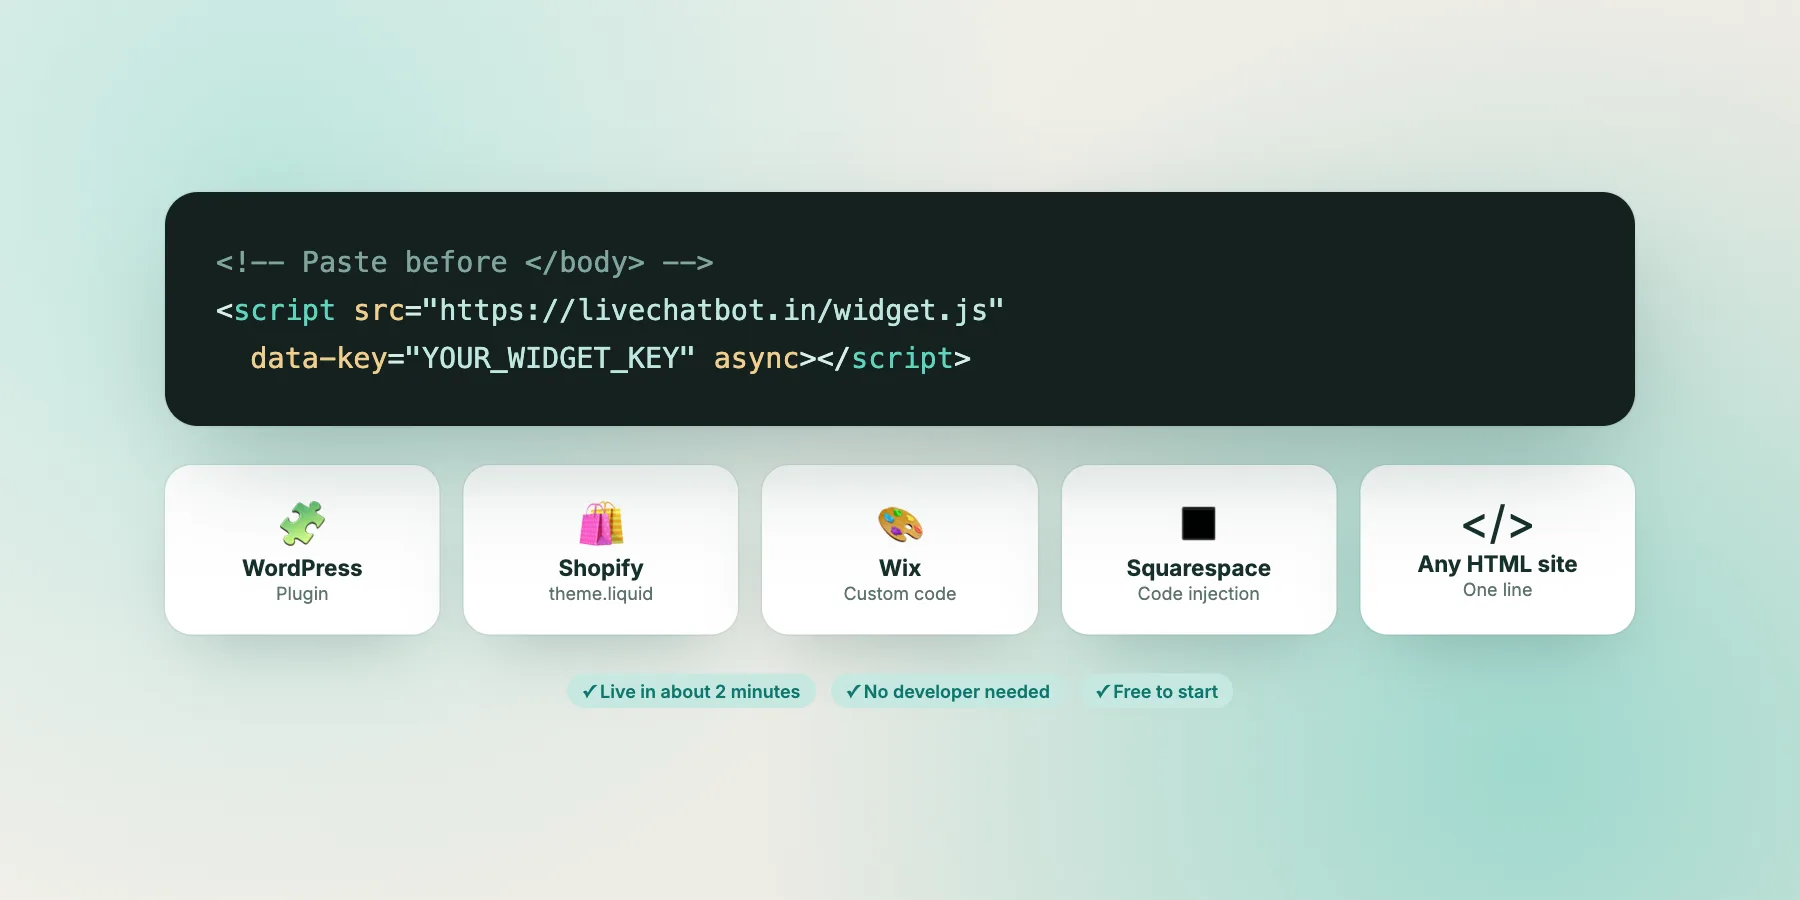
Two routes for WordPress chatbot installation: the plugin or a pasted snippet
Both routes put the same widget on your pages. Pick the one that suits how you manage your site.
The plugin route
LiveChatBot has a WordPress plugin, which also works with WooCommerce. You install it from the dashboard, connect your account and the widget appears. Updates arrive like any other plugin. Our WordPress live chat plugin guide walks through it.
The snippet route
You copy the widget code and paste it into your theme’s footer area, or into a header-and-footer code plugin. It adds no extra plugin to maintain, but a theme change can remove it, so keep the snippet saved somewhere safe. The steps for any site are in how to add a chatbot to a website.
If you are unsure, use the plugin. It is the easier one to undo.
Whichever you choose, install on a staging copy if your host offers one. Staging lets you test the widget, the speed and the mobile layout without any visitor seeing a half-finished page. When everything passes, repeat the same steps on the live site.
Install steps
The install itself, step by step
- Log in to your WordPress admin and open the Plugins page, then choose Add New.
- Search for the LiveChatBot plugin, install it and activate it.
- Open the plugin settings and connect it to your LiveChatBot account.
- Pick your widget colour and welcome text in the LiveChatBot dashboard. The widget customisation guide shows each option.
- Save, then open your home page in a private browser window.
If you chose the snippet route, replace steps 1 to 3 with pasting the code once, sitewide, before the closing body tag. Never paste it twice, because two copies can show two widgets.
Give yourself ten minutes for the whole WordPress chatbot installation. If the chat button is visible at the end, move on to the checks. If it is not, do not panic: the next sections explain why.
Verify it
Run the installation checklist
Tick each item as you prove it. A finished bar means the install is really working, not just activated.
Troubleshooting
If your WordPress chatbot installation shows nothing: fixes in order
Work through these in order. Most cases end at the first or second.
1. Cache is serving the old page
Purge the cache plugin, your host’s cache and any CDN. Then reload in a private window. This fixes more installs than any other step.
2. A script optimiser is deferring or removing it
Speed plugins sometimes combine, delay or strip scripts. Exclude the chat script from combining and delay settings, or switch the option off for a minute to test.
3. Duplicate or missing code
Check that you did not install the plugin and also paste the snippet. One method only. For the snippet, confirm it sits in the footer of every page template.
4. Another plugin is in the way
Deactivate other plugins one at a time, or follow our plugin conflict finder to find the culprit in five rounds.
Hiding and showing
Decide where the chat belongs after installing
A chat on every page is not always best. A checkout page needs calm, a login page needs nothing, and a pricing page may deserve a proactive message.
LiveChatBot’s where-it-shows settings let you choose devices, countries and pages to hide the widget on. Read how to show live chat on specific pages for the details. For proactive nudges, use chat flows with conditions such as page, source, device or number of visits.
Start simple: show the chat everywhere except checkout and login, watch the first week of chats, then refine. Changing these settings never needs a reinstall, and each change takes effect without touching your theme.
One more habit worth building: after every major WordPress, theme or cache plugin update, open the site in a private window and confirm the widget is still there. Updates are the most common reason a working install quietly stops.
Honest limits
What the installation will not give you
Know these before you plan around them. “Powered by LiveChatBot” stays on all plans, so you cannot hide the badge. There is no WhatsApp inbox, though a WhatsApp button card can send visitors to your number. There is an Android team app but no iOS one. Shopify, Wix and Squarespace use pasted code, not a dedicated app.
Everything in this guide is available on the free plan. If your site grows past 100 new visitors a month per website, visitor packs are one-time and never expire: 100 for ₹99, 500 for ₹299, 1000 for ₹499. See pricing for the full picture.
Frequently asked questions
How long does WordPress chatbot installation take?
The install itself takes about ten minutes. Allow another twenty for the checks: phone test, cache clearing and alert test.
Do I need a developer to install a chatbot on WordPress?
No. The plugin route needs no code, and the snippet route needs only copy and paste.
Can I install it on WooCommerce?
Yes. The LiveChatBot WordPress plugin also works with WooCommerce stores.
Why does the chat show for me but not for visitors?
Usually a cache, or you are testing while logged in. Purge every cache and test in a private window on another device.
Can I uninstall it later?
Yes. Deactivate and delete the plugin, or remove the pasted snippet. Your account and chat history stay in LiveChatBot.
Keep reading
Related guides
WordPress Chatbot Integration: Four Layers of Connection, From the Plugin to Zapier, and Which Ones You Actually Need
WordPress Support Chatbot: Reply Lines for the Questions Membership, Course and Booking Sites Get Every Week (Free Copy-Ready Replies)
WordPress Sales Chatbot: Match the Chat to Each Kind of Page on Your Site, From Landing Page to Pricing (Free Setup Quiz)
Install it the safe way
Free for two websites, with the WordPress plugin, the Android app and no per-seat charges. Start on livechatbot.in.